Tenants in Octopus help you deploy software to many production instances, targets, or customers without duplicating effort. This includes:
- Delivering Software as a Service (SaaS) applications where each customer has its own resources
- Deploying to physical locations like stores, hospitals, or data centers
- Dealing with multiple cloud regions
Although you can model these scenarios using multiple projects, or multiple environments, this can quickly become overwhelming. These models also don’t scale well as there is a lot of duplication.
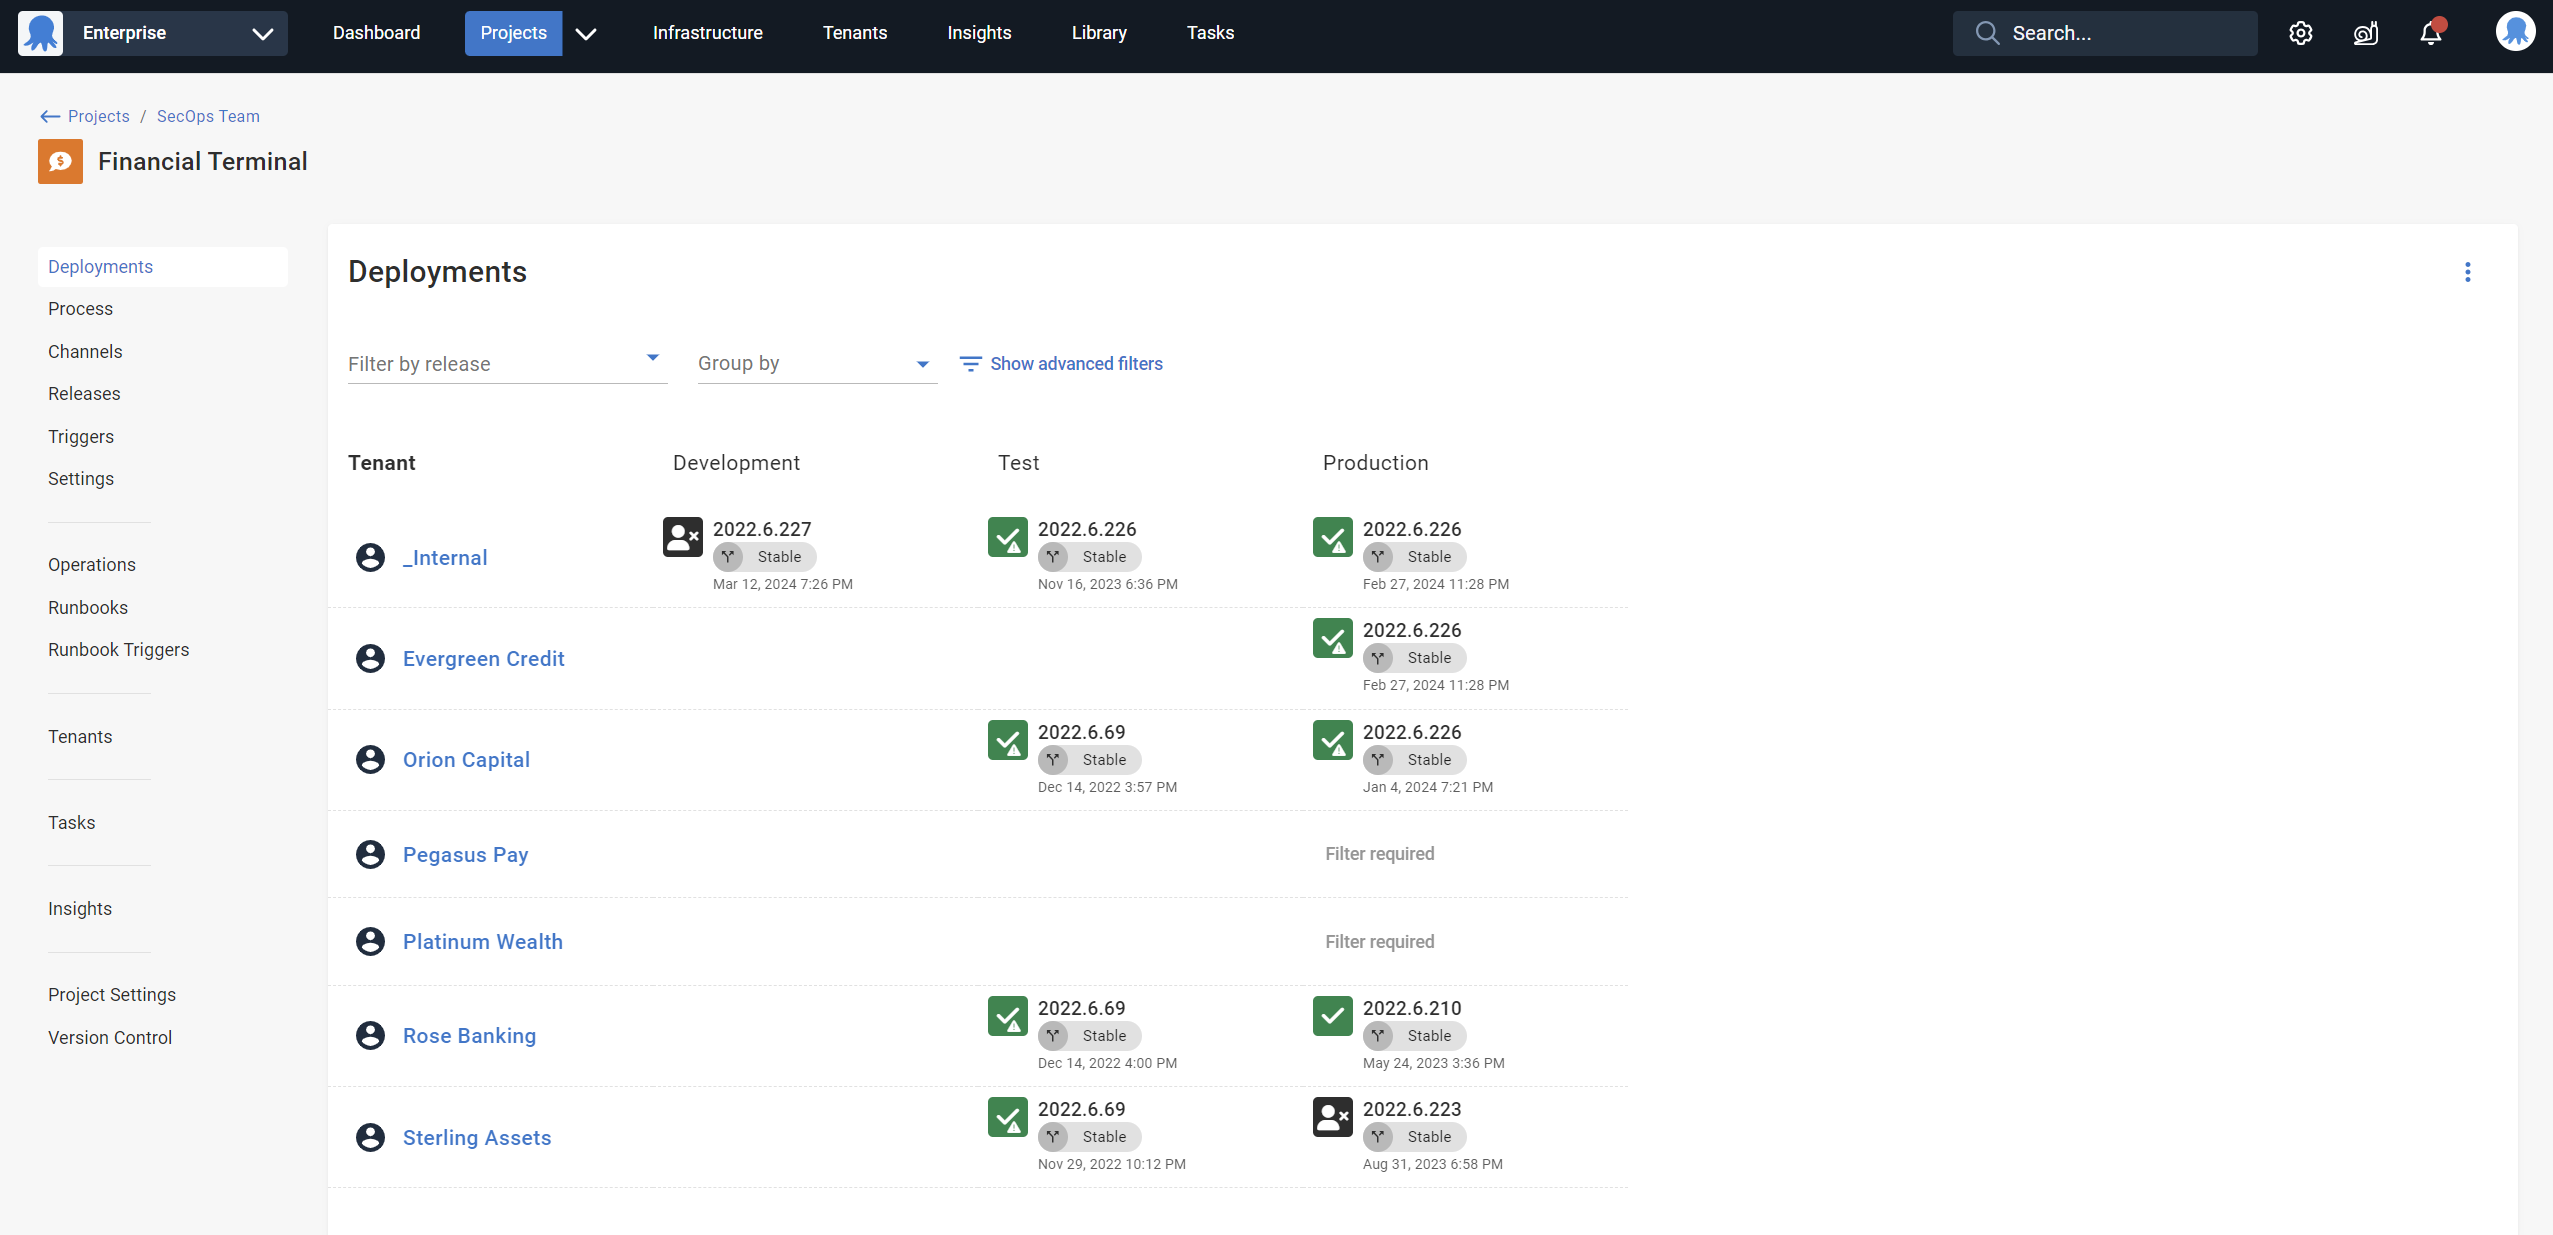
Tenants let you easily create customer or location-specific deployment pipelines without duplicating project configuration. You can manage separate instances of your application in multiple environments – all from a single Octopus project. This allows you to define one process and easily deploy to any number of tenants.
Tenants let you:
- Deploy multiple instances of your project to the same environment.
- Manage configuration settings unique to each tenant.
- Promote releases using safe, tenant-aware lifecycles.
- Use tenant tags to tailor the deployment process and manage large groups of tenants.
- Deploy to shared or dedicated infrastructure per tenant.
- Limit access to tenants by scoping team roles to tenants.
- Create release rings to easily deploy to alpha and beta tenants.
- Build simple tenanted deployment processes that can scale as you add more tenants.
When to use tenants
Tenants simplify complex deployments if you’re deploying your application more than once in an environment.
Consider using tenants if:
- You need to deploy different versions of your application to the same environment.
- You’re creating multiple environments of the same type. This could be multiple test environments for different testers, or multiple production environments for different customers.
You don’t need tenants in every deployment scenario. If you don’t deploy multiple instances of your software, and don’t have unique needs like features, branding, or compliance, you may not need tenanted deployments.
Check out our multi-tenancy guides for more detail on how to use tenanted deployments in Octopus for common scenarios.
Types of tenants
While it’s common to use tenants to represent the customers of your application, there are many more ways you can use tenants.
Tenants can also represent:
- Geographical regions or data centers
- Developers, testers, or teams
- Feature branches
Learn more about tenant types.
Create your first tenant
It’s simple to configure a new or existing Octopus project to use the Tenants feature:
Tenant variables
You often want to define different variable values for each tenant, like database connection settings or a tenant-specific URL. If you use an untenanted project, you’ll have previously defined these values in the project itself. But with a tenanted project, you can set these values directly on the tenant for any connected projects.
Tenant-provided variables are not snapshotted
When you create a release in Octopus Deploy, we take a snapshot of the deployment process and the current state of the project variables. However, we do not take a snapshot of tenant variables. This lets you add new tenants at any time and deploy to them without creating a new release. This means any changes you make to tenant variables take immediate effect.
Learn more about tenant variables in our documentation.
Tenant tags
Tenant tags help you to classify your tenants using custom tags that meet your needs, and tailor tenanted deployments for your projects and environments. Learn more about tenant tags in our documentation.
Troubleshooting tenanted deployments
If you’re having any issues with tenants, we have useful answers to common questions about tenanted deployments in Octopus:
If you still have questions, we’re always here to help.
Help us continuously improve
Please let us know if you have any feedback about this page.
Page updated on Monday, April 29, 2024